Chunk Generation

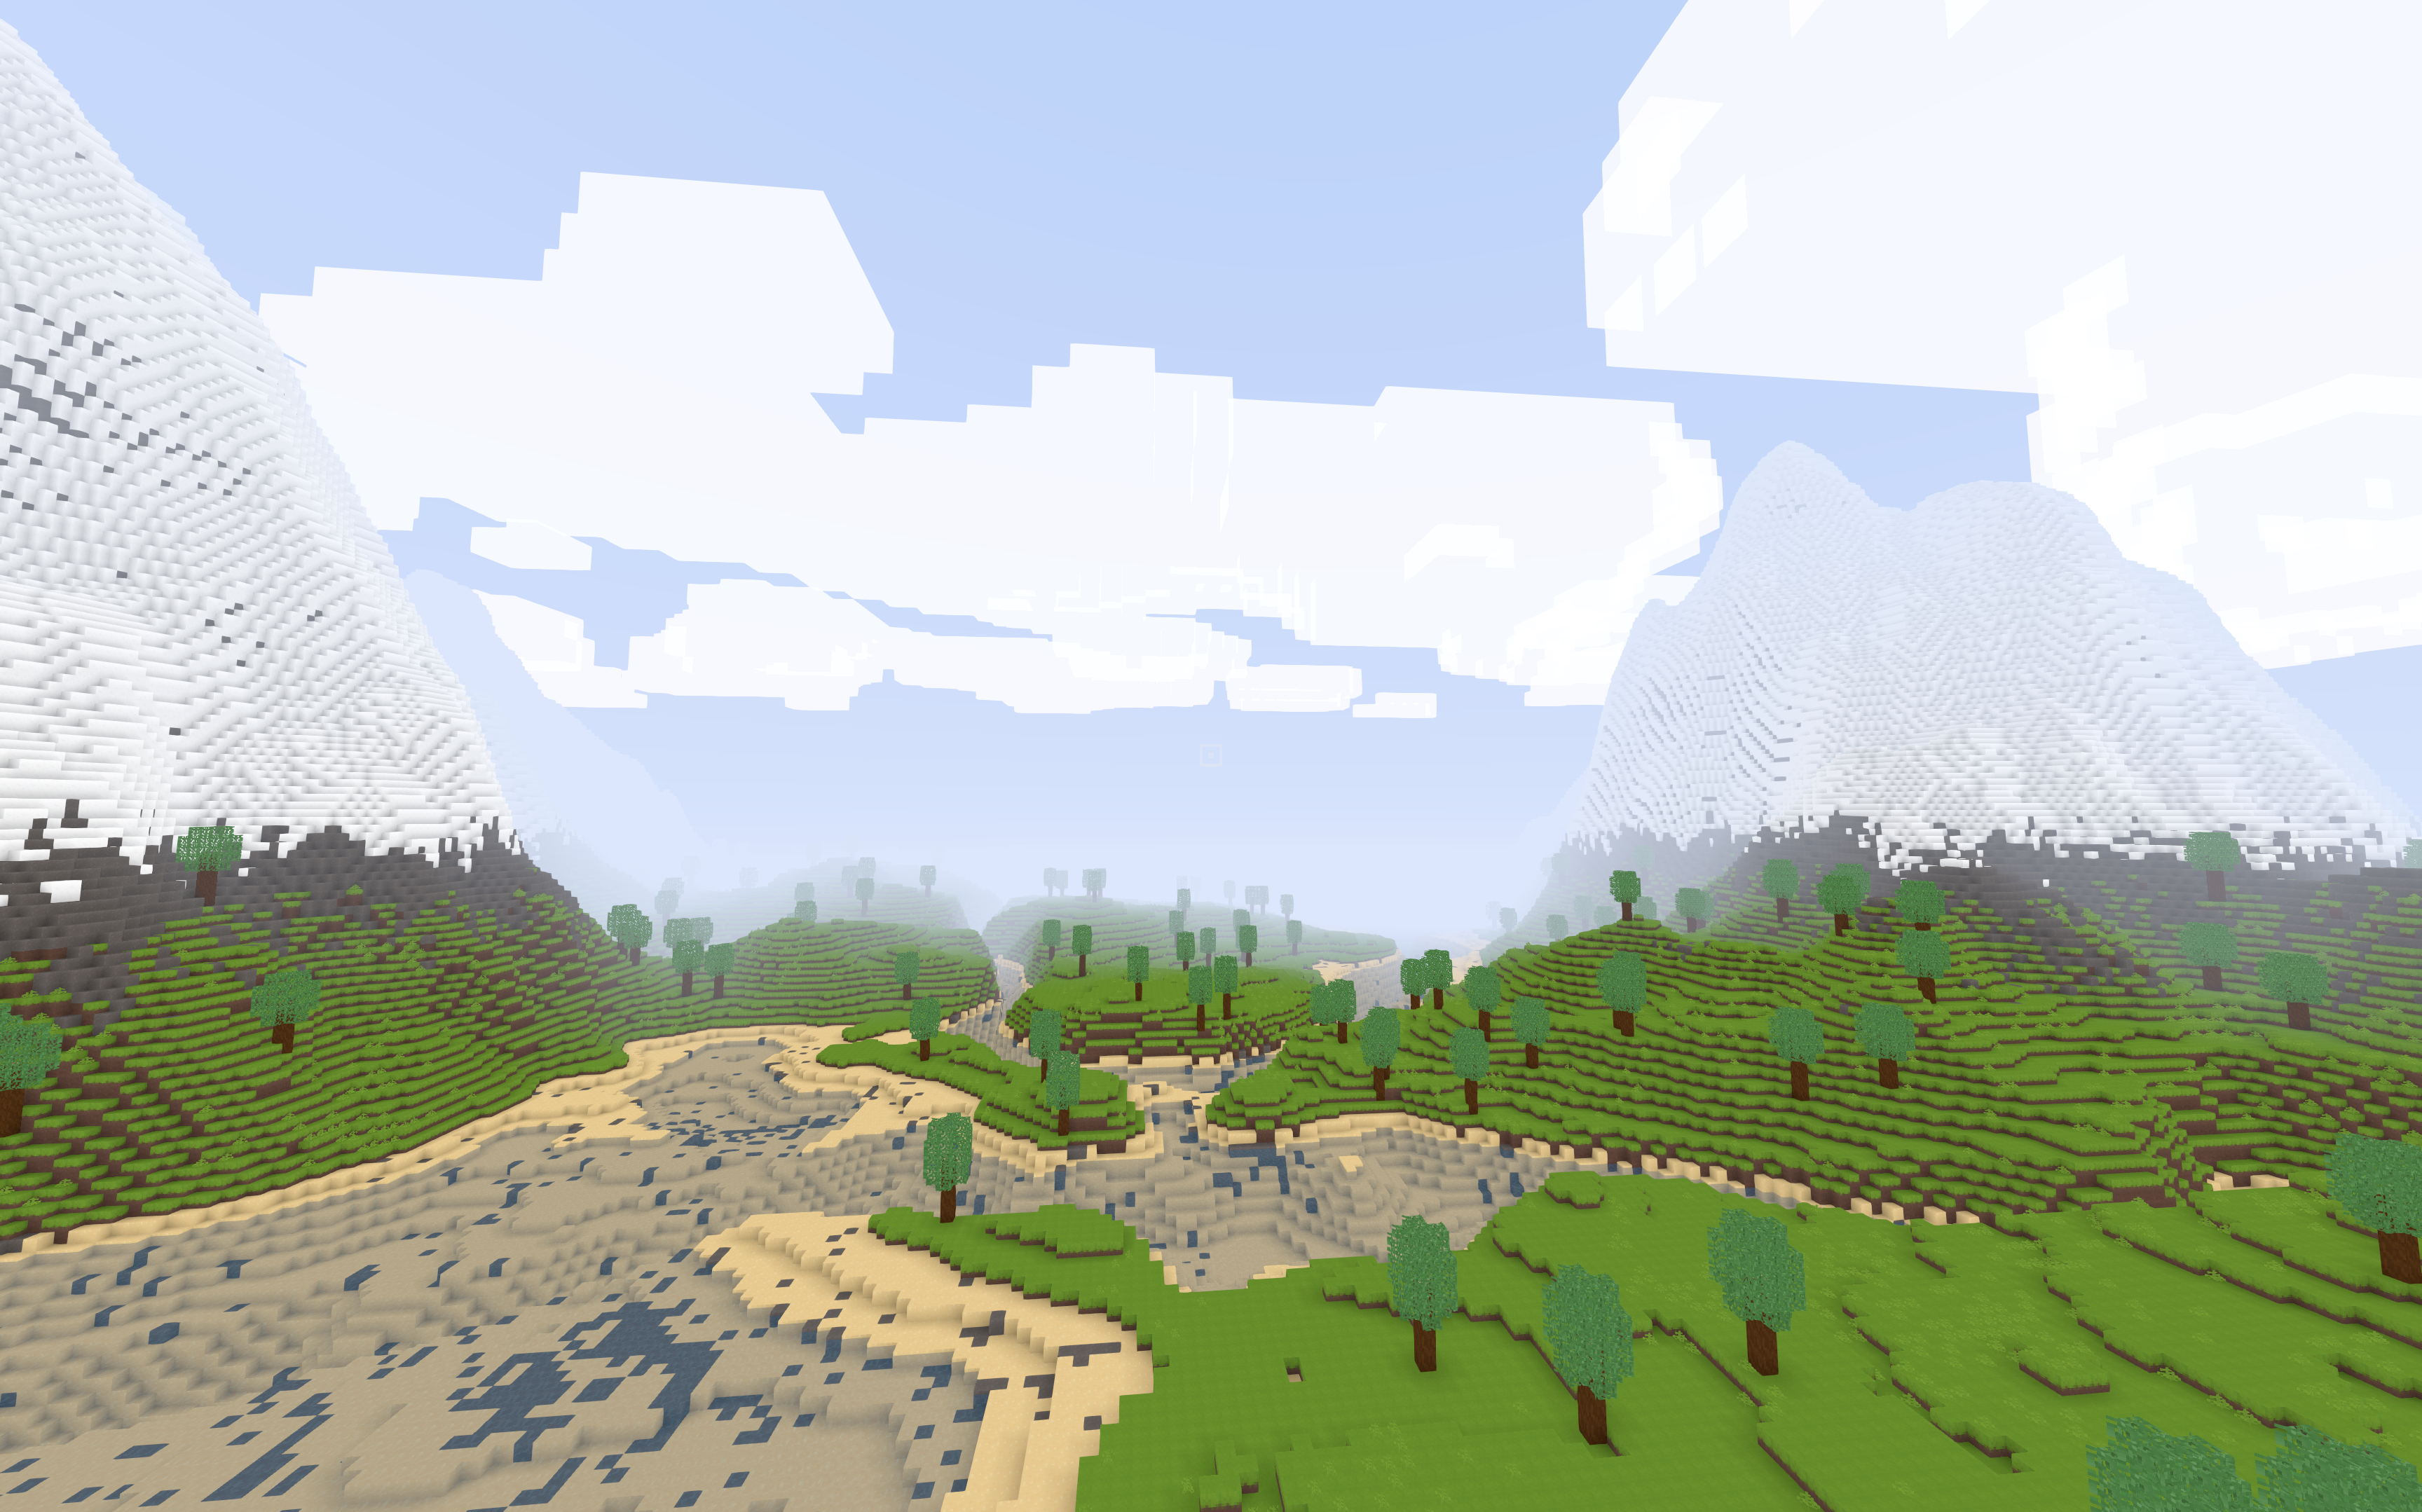
In this chapter, we learn about how to populate blocks into empty chunks, in parallel.

Chunk Stage

To populate chunks, developers define a list of chunk stages that each chunk has to go through. For example, there could be a TreeStage that places trees on each chunk, or there could be a WaterStage that fills water up to the sea level.

In this tutorial, we are going to define a FlatlandStage, which simply populates the world with a flat land. (Hint: This stage actually comes built-in in Voxelize!)

Let's set up the flatland stage first:

server/main.rs
// ...
pub struct FlatlandStage {
/// The height of the flat land.
height: i32,

/// Block type of the top of the flat land.
top: u32,

/// Block type of the middle of the flat land.
middle: u32,

/// Block type of the bottom of the flat land.
bottom: u32,
}

impl FlatlandStage {
pub fn new(height: i32, top: u32, middle: u32, bottom: u32) -> Self {
Self {
height,
top,
middle,
bottom,
}
}
}
// ...

Chunk stages all implement the ChunkStage trait, so let's do that next:

server/main.rs
use voxelize::{
Block, ChunkStage, Registry, ResourceResults, Server, Space, VoxelAccess, Voxelize, WorldConfig,
};
note
  • The VoxelAccess trait allows developers to use chunk data access methods such as set_voxel on data structures like Chunk or Chunks.
  • Vec3 is a 3-number list data structure used across Voxelize.

Implement what the flat land stage does:

server/main.rs
// ...
impl ChunkStage for FlatlandStage {
fn name(&self) -> String {
"Flatland".to_owned()
}

fn process(&self, mut chunk: Chunk, _: ResourceResults, _: Option<Space>) -> Chunk {
// Minimum coordinates of the chunk.
let Vec3(min_x, _, min_z) = chunk.min;

// Maximum coordinates of the chunk.
let Vec3(max_x, _, max_z) = chunk.max;

// Loop through all voxels up to the defined height.
for vx in min_x..max_x {
for vz in min_z..max_z {
for vy in 0..self.height {
// Set voxels conditionally.
if vy == 0 {
chunk.set_voxel(vx, vy, vz, self.bottom);
} else if vy == self.height - 1 {
chunk.set_voxel(vx, vy, vz, self.top);
} else {
chunk.set_voxel(vx, vy, vz, self.middle);
}
}
}
}

// Return the chunk instance for it to progress to the next stage.
chunk
}
}
// ...

The Chunk Pipeline

Now we have a chunk stage defined, it's time to add it to the world's pipeline. A chunk pipeline simply manages the multi-threading of the chunk populations, pipelining all the chunks requested through every stage.

We can access the world pipeline and add the stage to it:

server/main.rs
// ... Creating the world

{
drop(registry);

let mut pipeline = world.pipeline_mut();

// Add a chunk stage with top block stone, middle dirt, and bottom stone.
pipeline.add_stage(FlatlandStage::new(10, stone.id, dirt.id, stone.id));
}

// ... Running the server

The world should now be generating a flat land. In fact, you can simply import FlatlandStage from voxelize::pipeline::FlatlandStage. The usage is a bit different, as Voxelize's built-in flatland stage uses add_soiling instead of top, middle, and bottom blocks. An example usage would be as such:

server/main.rs
{
let mut pipeline = world.pipeline_mut();
pipeline.add_stage(
FlatlandStage::new()
.add_soiling(stone.id, 10) // From bottom-up, add 10 layers of stone
.add_soiling(dirt.id, 2) // 2 layers of dirt
.add_soiling(grass_block.id, 1), // Final 1 layer of grass block
)
}
tip

We wrap the pipeline access with curly braces so that the pipeline lifetime is automatically dropped after mutating.

A Word on Chunk Stages

When working with chunk stages, developers may want to access more information about the world, such as the registry, chunks around that chunk, and the world configurations.

Resources of the World

Each chunk stage is presented with a set of resources from the world, namely the registry and the world config. You can access these resources within the second parameter for process, resources.

use voxelize::Resources;

impl ChunkStage for MyStage {
fn process(&self, chunk: Chunk, resources: Resources, space: Option<Space>) -> Chunk {
// Use the resource in this chunk stage.
let registry = resources.registry;
}
}

Space Data Structure

Voxelize achieves parallel chunk generation by utilizing a data structure called Space. Essentially, spaces contain the data of a chunk along with the data of the surrounding chunks. Data includes voxels, lights, and height maps, all configurable.

  • A space is provided to the stage if the stage.needs_space function is implemented.
  • Spaces ensures that it contains chunks in stages equal to or greater than the center chunk.
  • Spaces can also be mutated, but they are deleted after each stage. So, use get_lights or get_voxels to get its individual chunk data.
use voxelize::{Space, SpaceData};

impl ChunkStage for MyStage {
/// The radius neighbor from the center chunk that are required before
/// being processed in this chunk. Defaults to 0 blocks.
fn neighbors(&self, _: &WorldConfig) -> usize {
3 // For any reason, you need 3 blocks wider than the chunk size.
}

// Tell the pipeline that you need a space containing a margin of 2 blocks of light data.
fn needs_space() -> Option<SpaceData> {
Some(SpaceData { needs_lights: true, ..Default::default() })
}

fn process(&self, chunk: Chunk, resources: ResourceResults, space: Option<Space>) -> Chunk {
// You can then access neighboring chunk data.
let space = space.unwrap();
space.get_sunlight(...)
}
}

As can be seen above, the space generated with be expanded by 1 chunk, each chunk requires "3 blocks into the neighboring chunks."

info

Do note that since using spaces requires extra chunk information other than the center chunk, this would slow generation down as this stage would require neighboring chunks to be processed as well to continue.

Progress Check

The code so far should look like this:

server/main.rs
use voxelize::{Block, FlatlandStage, Registry, Server, Voxelize, World, WorldConfig};

#[actix_web::main]
async fn main() -> std::io::Result<()> {
let dirt = Block::new("Dirt").id(1).build();
let stone = Block::new("Stone").id(2).build();
let grass_block = Block::new("Grass Block").id(3).build();

let config = WorldConfig::new()
.min_chunk([-1, -1])
.max_chunk([1, 1])
.build();

let mut world = World::new("tutorial", &config);

{
let mut pipeline = world.pipeline_mut();
pipeline.add_stage(
FlatlandStage::new()
.add_soiling(stone.id, 10)
.add_soiling(dirt.id, 2)
.add_soiling(grass_block.id, 1),
)
}

let mut registry = Registry::new();
registry.register_blocks(&[dirt, stone, grass_block]);

let mut server = Server::new().port(4000).registry(&registry).build();

server
.add_world(world)
.expect("Failed to add world to server");

Voxelize::run(server).await
}

Now that we have a server, a world, and all the blocks we needed, let's build the client.